I recently discovered Zigbee smoke and heat alarms. These are an amazing addition to Home Assistant as compared to regular smoke alarms that they enable:
Knowing which room an alarm is triggered in!
Remote alerting.
Siren triggering.
Remote hush.
Battery monitoring.
In addition some types even allow room temperature monitoring which in my house has tracked very closely (within 0.5°C) with the Xiaomi BLE thermometers.
Two models I recommend are those made by Frient and the Heiman HS1SA-E Plus. Both are EN14604 certified (recognised in many countries including New Zealand) and work out of the box with Home Assistant.
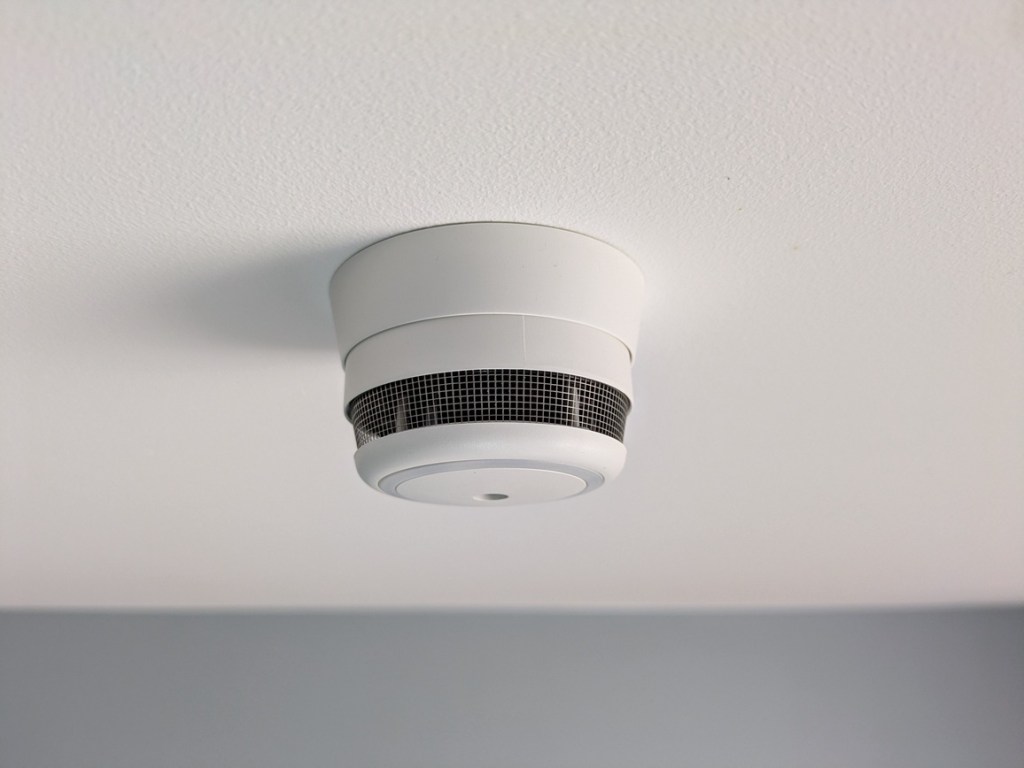
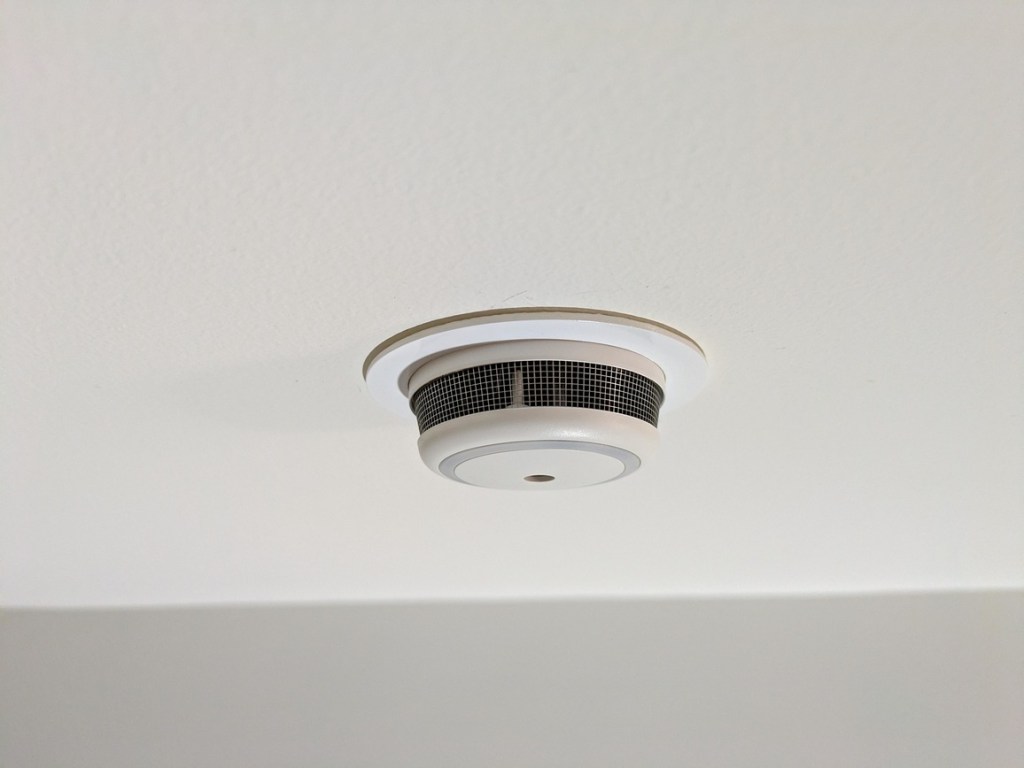
The Frient alarms share many similarities with popular compact alarms made by Cavius, to the point I am convinced they are designed and made by the same people. Unfortunately unlike Cavius, Frient don’t offer a flush mount option so I’ve designed a printable one instead.
I printed mine in white ASA. Unfortunately the roll I used left a slightly yellowish finish, so a gentle sanding and quick spray with Tamiya TS-101 base white (no priming needed) made them match the alarm almost perfectly. It looks much closer than it does in the photo!
Use a 64mm (2 1/2″) hole saw in the ceiling and some thin double-sided foam tape to stick them in place. The alarm should fit and click into place.
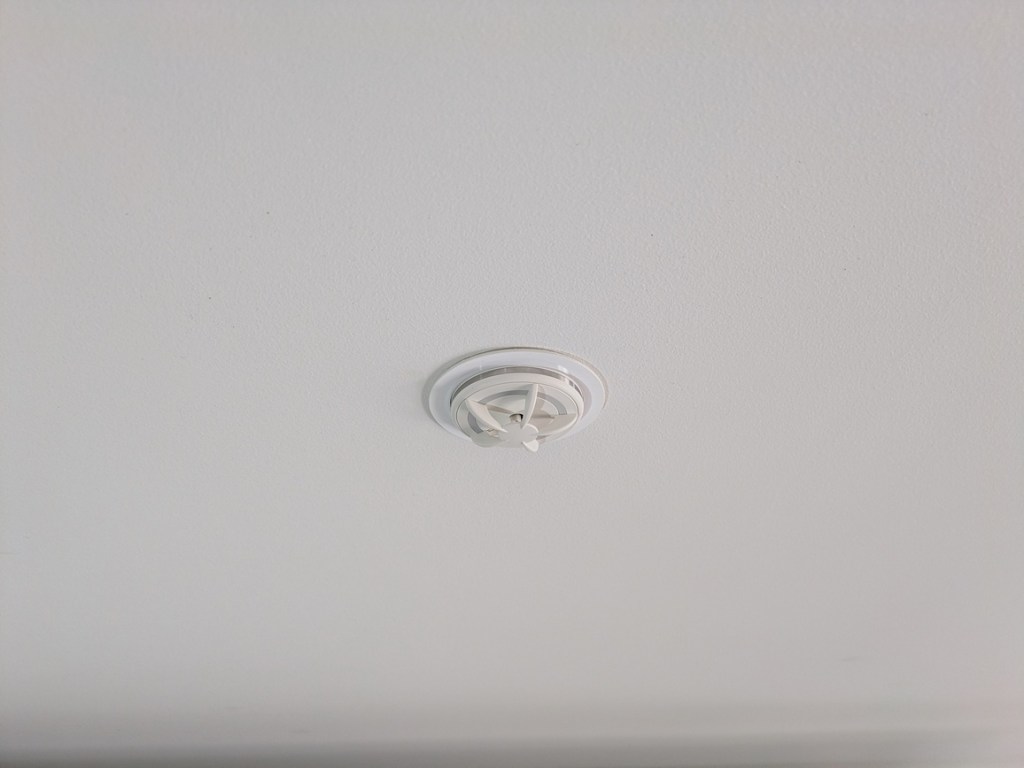
Standard surface mount (left) compared to recessed mount (right):
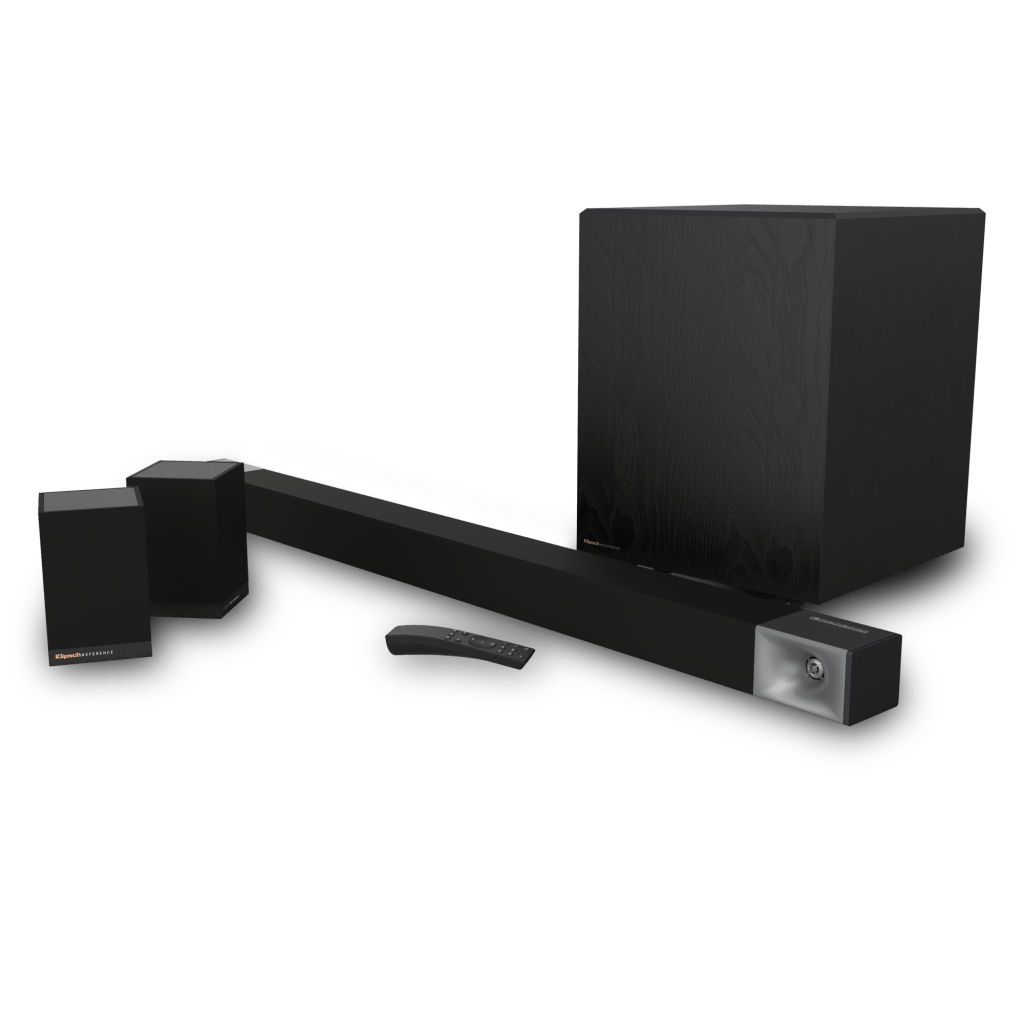
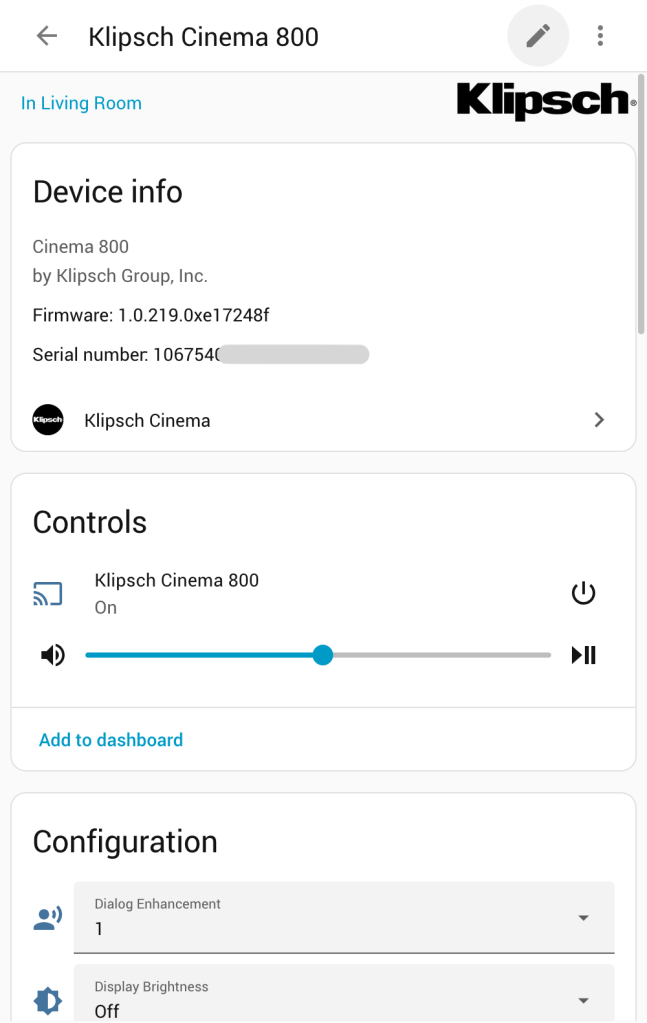
I recently created a rough but usable Home Assistant integration for the Klipsch Cinema 800 sound bar after reverse-engineering a firmware image and figuring out the unauthenticated web API it presents. The integration provides remote control for most of the sound bar functionality and is usually a bit more responsive than using the Klipsch Connect app.
It can be installed via HACS; simply search for the Klipsch Cinema integration. From there add a new device using the Klipsch Cinema integration and type in the IP of your sound bar.
I’m aware that this sound bar gets a bit of a mixed reception but I’ve found it very reliable to date and one of the better sounding models at the time I bought it.
The previous owner of my house installed a solar water heating system that didn’t appear to perform well. After some investigation I discovered that many of the copper heat pipes in the solar collector had ruptured and the lagging had melted off the supply pipes. I fixed replaced of this and it made for an immediate improvement. The problem was I had no real way of monitoring how well it was all working.
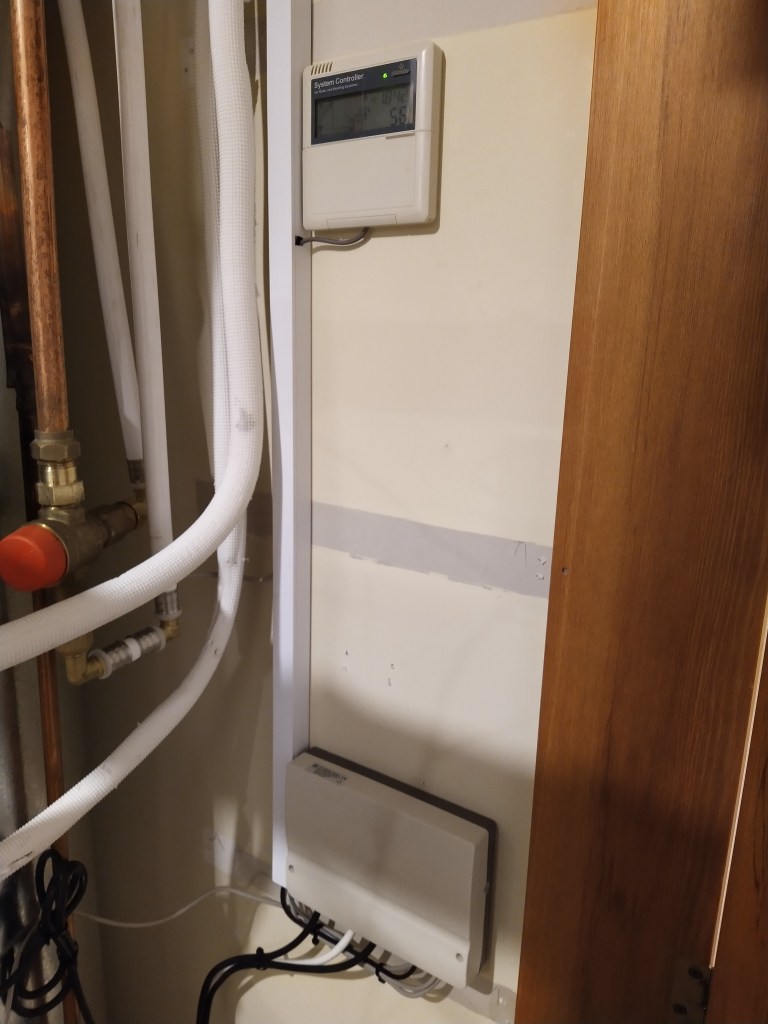
The brains of the operation was a SR81Q solar hot water controller, produced by Shuang Ri. This has a simple control panel showing the system state and providing a series of menus for configuring the various parameters. Temperatures are shown rounded to the nearest whole degree.
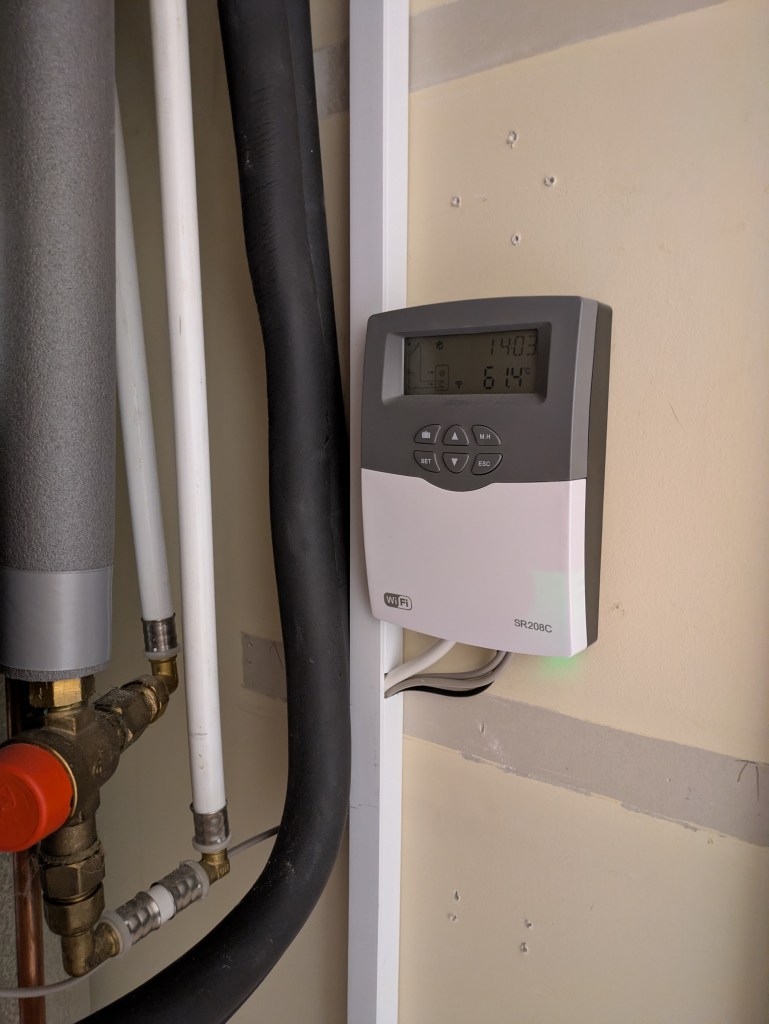
There appeared to be no official means for external connectivity, although there was a half-duplex serial link between the control panel and the main unit that I briefly started working on decoding. Until I stumbled across the newer SR208C controller. My hot water installation is very simple and consists of three temperature sensors (one collection and two in tank), the solar water pump and electric heater control. The SR208C does all this, plus has a 0.1° precision compared to the 1° precision of the SR81. It also comes with optional WiFi, and is widely available from Ali Express for less than NZ$120 delivered. Problem solved, perhaps!
While creating something from scratch is always an option, I prefer to have a purpose-built controller running the show and not have it dependent on Home Assistant for day to day operation.
I spent some time going through all of the existing SR81 settings and comparing with the default values in the manual, assuming the original installer had taken time to optimise this. It turns out they had done very little aside from setting schedules for the electric backup heating.
SR208C
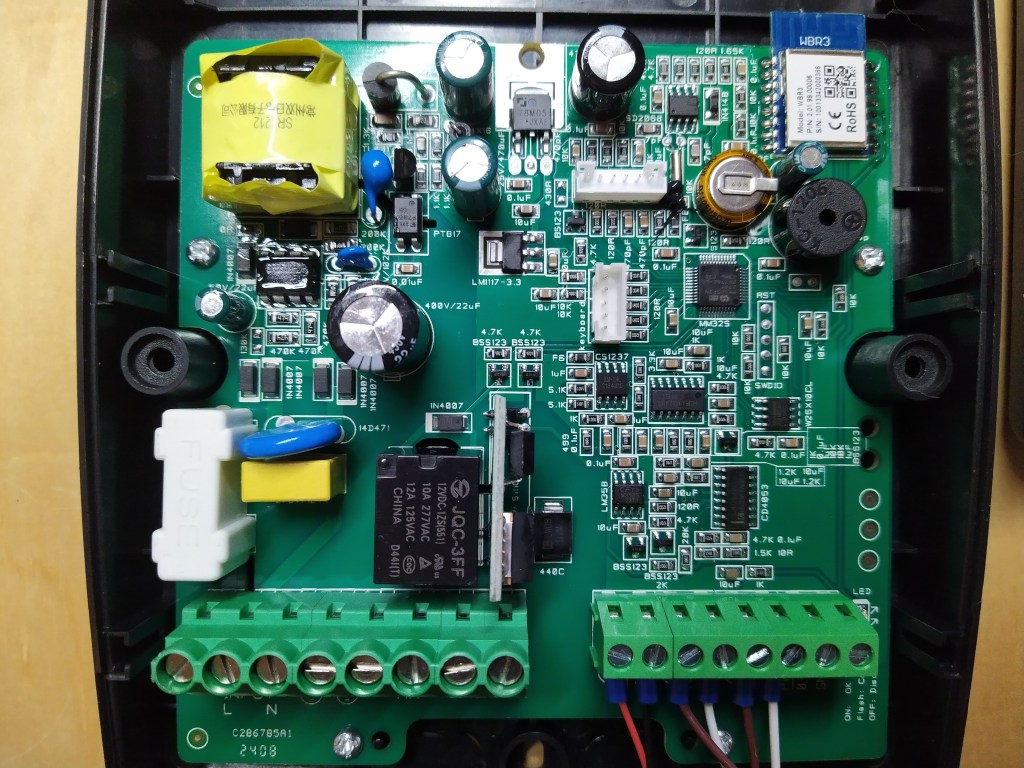
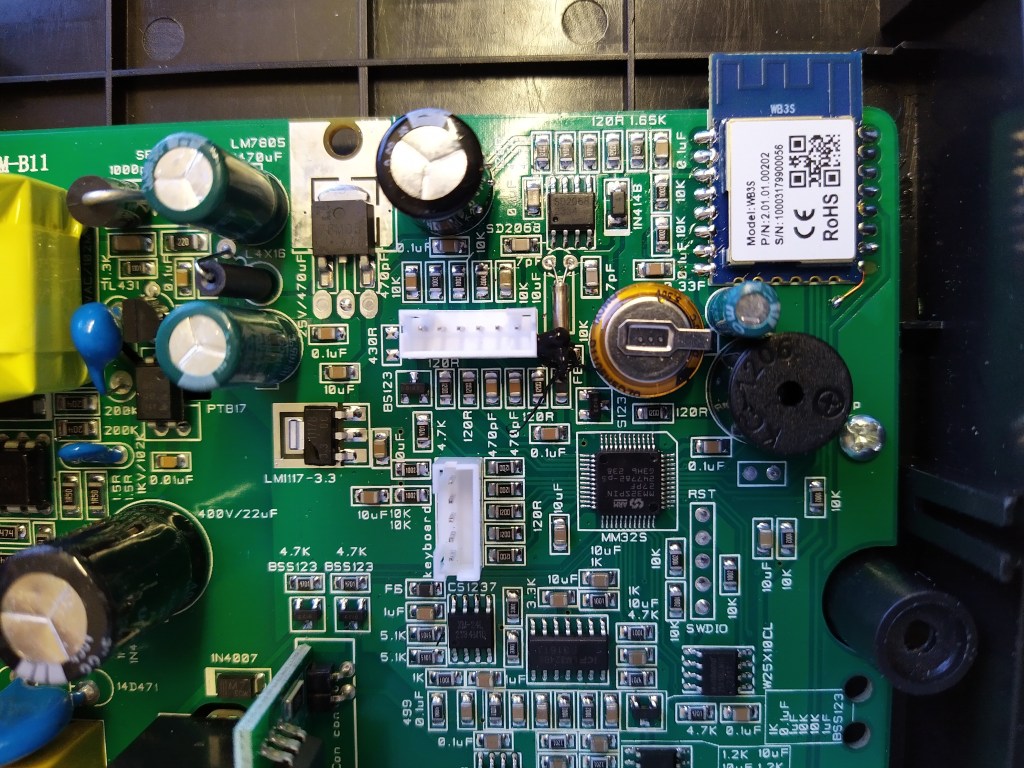
The SR208C with WiFi turns out to be designed for the Tuya cloud ecosystem. The original WiFi module is a Tuya WBR3 based on a Realtek RTL8720CF. FOSS support for this is patchy at best and not even an option for ESPHome at the moment. Sniffing the serial pins showed standard Tyua serial comms at 115200 baud. There were also log messages from the module being send to the main MCU via the module’s second UART.
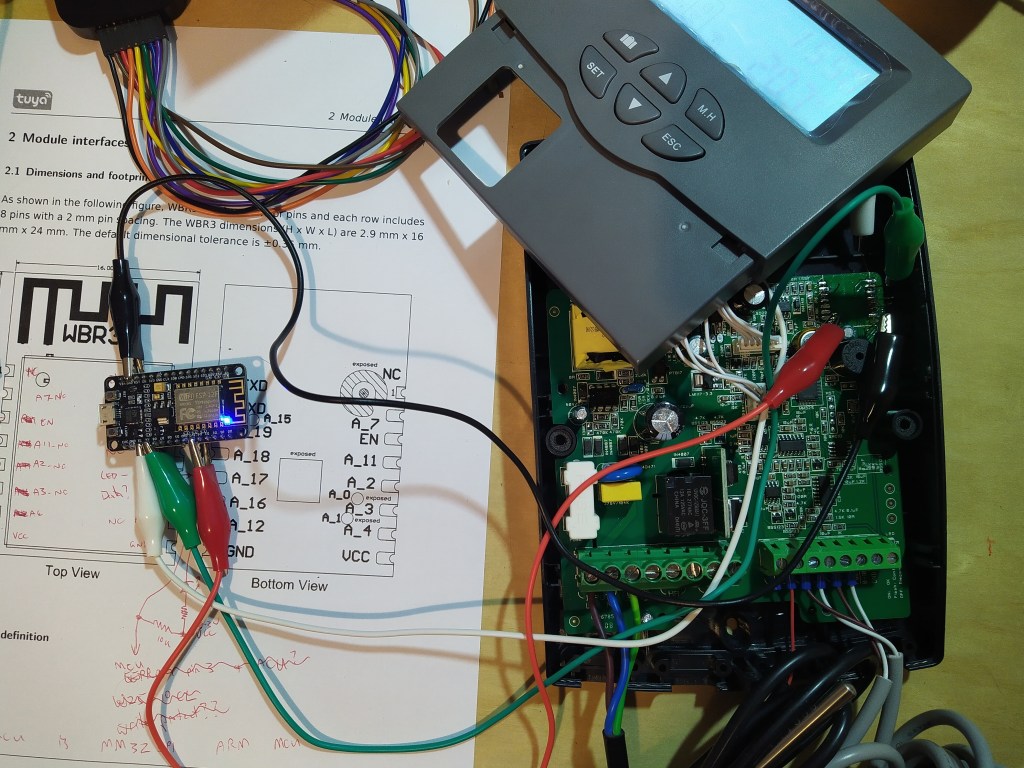
I desoldered the WBR3 module and tacked an ESP32 dev board in place for initial testing. I was able to install ESPHome and work on analysing the Tuya data points.
After much investigation I could not find an ESP32 module that was a direct fit without modifying PCB traces. I settled for a WB3S module which is based on a Beken BK7231T. This module is the only one I can find that has an exact pinout match for the SR208C, so was able to be soldered directly in place and keep everything looking factory fresh. Except for the ground pad that lifted off and needed a jumper wire. 😦
I flashed the module using a USB serial adapter before installing it and future updates can be applied via OTA.
After all this we can now do the following via Home Assistant:
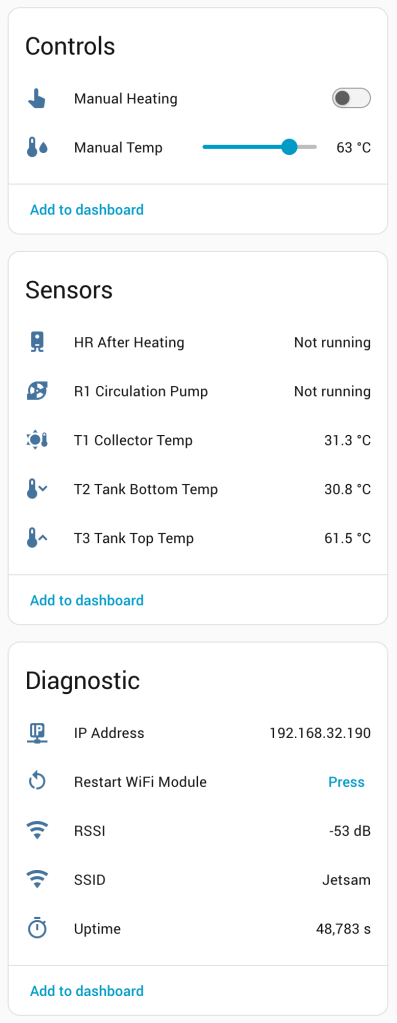
Monitoring T1 (collector), T2 (lower tank), T3 (upper tank) temperatures.
Monitoring collector pump (R1).
Monitoring electric heating (H1).
Turning manual backup heating on or off.
Setting the manual heating temperature.
Changing between Celsius and Farenheit units.
Sadly it doesn’t allow:
Controlling holiday mode.
Setting the time.
Overriding the pump control.
Configuring any other options.
If anyone finds a solar controller that does offer these features then please drop a comment below!
From here I’ve been able to log the state and effectiveness of the solar water heater. In the summer months this supplies over 90% of my hot water needs and in the winter it makes very little difference. Through spring and autumn it varies in contribution, averaging around 50%.
One quirk I discovered with the SR208C was that it would sometimes reset when the hot water backup heat was switched off. This was from inductive kickback from the external contactor used to switch the heating element. Installing a snubber across the contactor coil fixed this. A basic snubber can be made using a 100n class X capacitor and 100 ohm resistor in series.
I recently moved into a house with an HRV positive ventilation system installed. I personally think these are a bit overpriced but comments from people I know with them are generally positive. Ours didn’t appear to be doing much so I had a look in the roof.
Mine has two units daisy-chained together with a single control panel. When set to 100% (“burnt toast” mode) one fan was spinning very slowly and the other not at all.
Pulling the units apart revealed that they are quite simple in construction but generally well-built. Remove two Pozidrive screws then the base simply clips off to access the filter and once the filter is removed the fan is easily accessible inside. The fan itself is German-made by EBM-Papst and an off the shelf part.
Diagnosis revealed both motor run capacitors were significantly degraded, measuring a fraction of their 2uF rating. One motor had overheated and tripped the thermal cut-out attached to it. This is not self-resetting but can be reset by pressing the little black button on it.
Both motors showed similar winding resistance and were visually fine although the overheated motor had noisy bearings. These are easy to replace and are a standard 608ZZ type. I swapped these with genuine NSK replacements.
I’ve replaced both capacitors with a Kemet C27 series. You’ll need to crimp 4.8mm female spade connectors onto the replacement capacitor – do this before climbing into the roof space!
You’ll need to bring a Pozidrive screwdriver, cable ties and side cutters.
On reassembly I made sure the cables were tied down to prevent them moving and possibly being struck by the fan.
After all the repairs the fans run very well indeed and the unit so far seems to to what it claims.
If your HRV unit is underperforming then I’d suggest checking the motor run capacitors in the first instance. I wonder how many units have been discarded and replaced for the sake of a $10 capacitor?
Last year I bought a Yamaha RX-V381 AV receiver to replace my ancient Pioneer one. I’m no big home theatre enthusiast – I just wanted a simple but solid surround receiver with some HDMI inputs so I could simplify the home setup. I’d previously had a set-top box, Kodi player (Raspberry Pi 2) and Chromecast all connected to the (getting oldish now) Samsung TV, and having to separately switch the video and audio signals was getting tedious.
For the price this amp simply rocks. Ample power, clean sound (discrete amp too), 5.1 speaker support, 4x HDMI inputs and the usual analogue ones plus it’s 4k compatible to boot.
The remote and UI is simple and uncluttered. Basically everything I wanted and nothing I didn’t
The best part is that HDMI CEC worked out of the box. It’s off by default but can be easily turned on in the amp’s HDMI settings menu.
The amp remote (and the TV one too – we can simply use the nearest one lying about) completely controls the Pi with Kodi, the STB and Chromecast without any fiddling. It’s very handy to say the least. The only drawback is the standby sync is a little odd, but this seems to be a common issue with CEC. There is some scope for tweaking it in the settings on each device though.
All was well for six months or so… until today. The CEC stopped working and no amount of power cycling or fiddling was going to get it back. Interestingly enough everything was powered on and had already been working – we simply left it for half an hour or so and came back to with no ability to remove control devices except from their respective original remotes.
Ultimately the WAF took a dive, prompting a pretty immediate fix!
In the end the amp was to blame and required a factory reset. To do this:
Power it off.
Hold down Straight while powering it back on until ADVANCED SETUP appears on the display.
Use the Program Selector buttons to navigate to INIT- CANCEL.
Press Straight to set it to INIT- ALL.
Press the power button again to reset the amp.
Unfortunately this meant re configuring all amp with all of my previous settings. If it happens again then a warranty claim is probably in order. A pity, as it’s otherwise such a great value little unit.
So anyway there’s a tip for anyone else who encounters this problem.