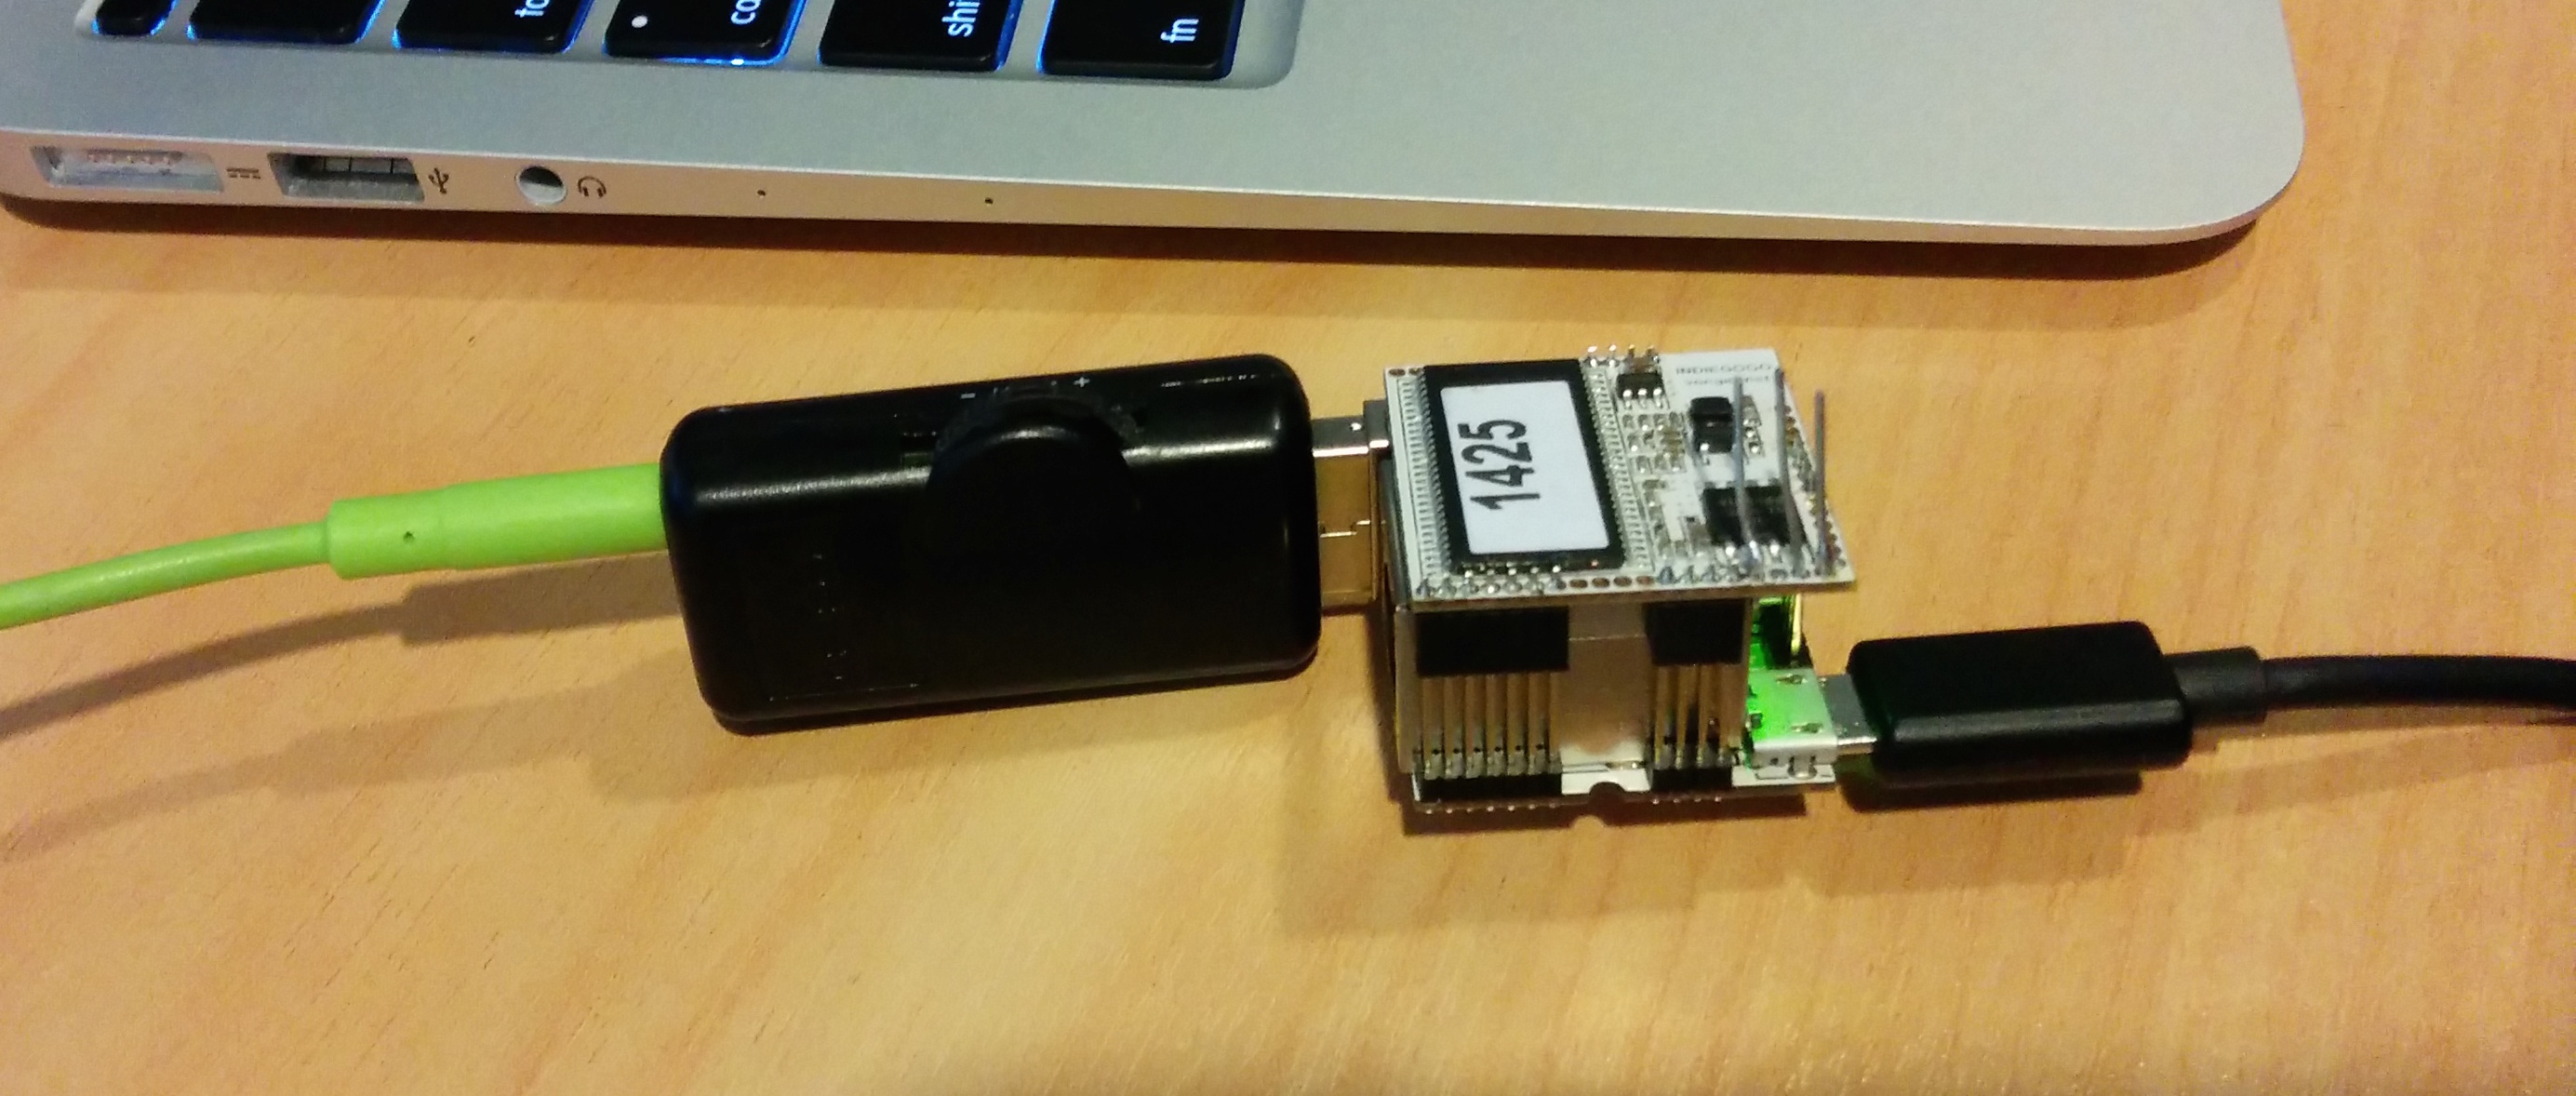
Or at least it probably is. I can’t verify that, but it is really damn small!
I’ve based this around the VoCore, a tiny and inexpensive (US$20) Linux platform based around an Ralink RT5350F and running the fantastic OpenWRT.
With my prototype audio dock the completed size is approx 25 x 25 x 10mm so can be made to fit almost anywhere. It could be easily integrated into an existing amplifier or set of powered speakers, enabling AirPlay-enablement of practically anything.
Setting up a new VoCore for AirPlay
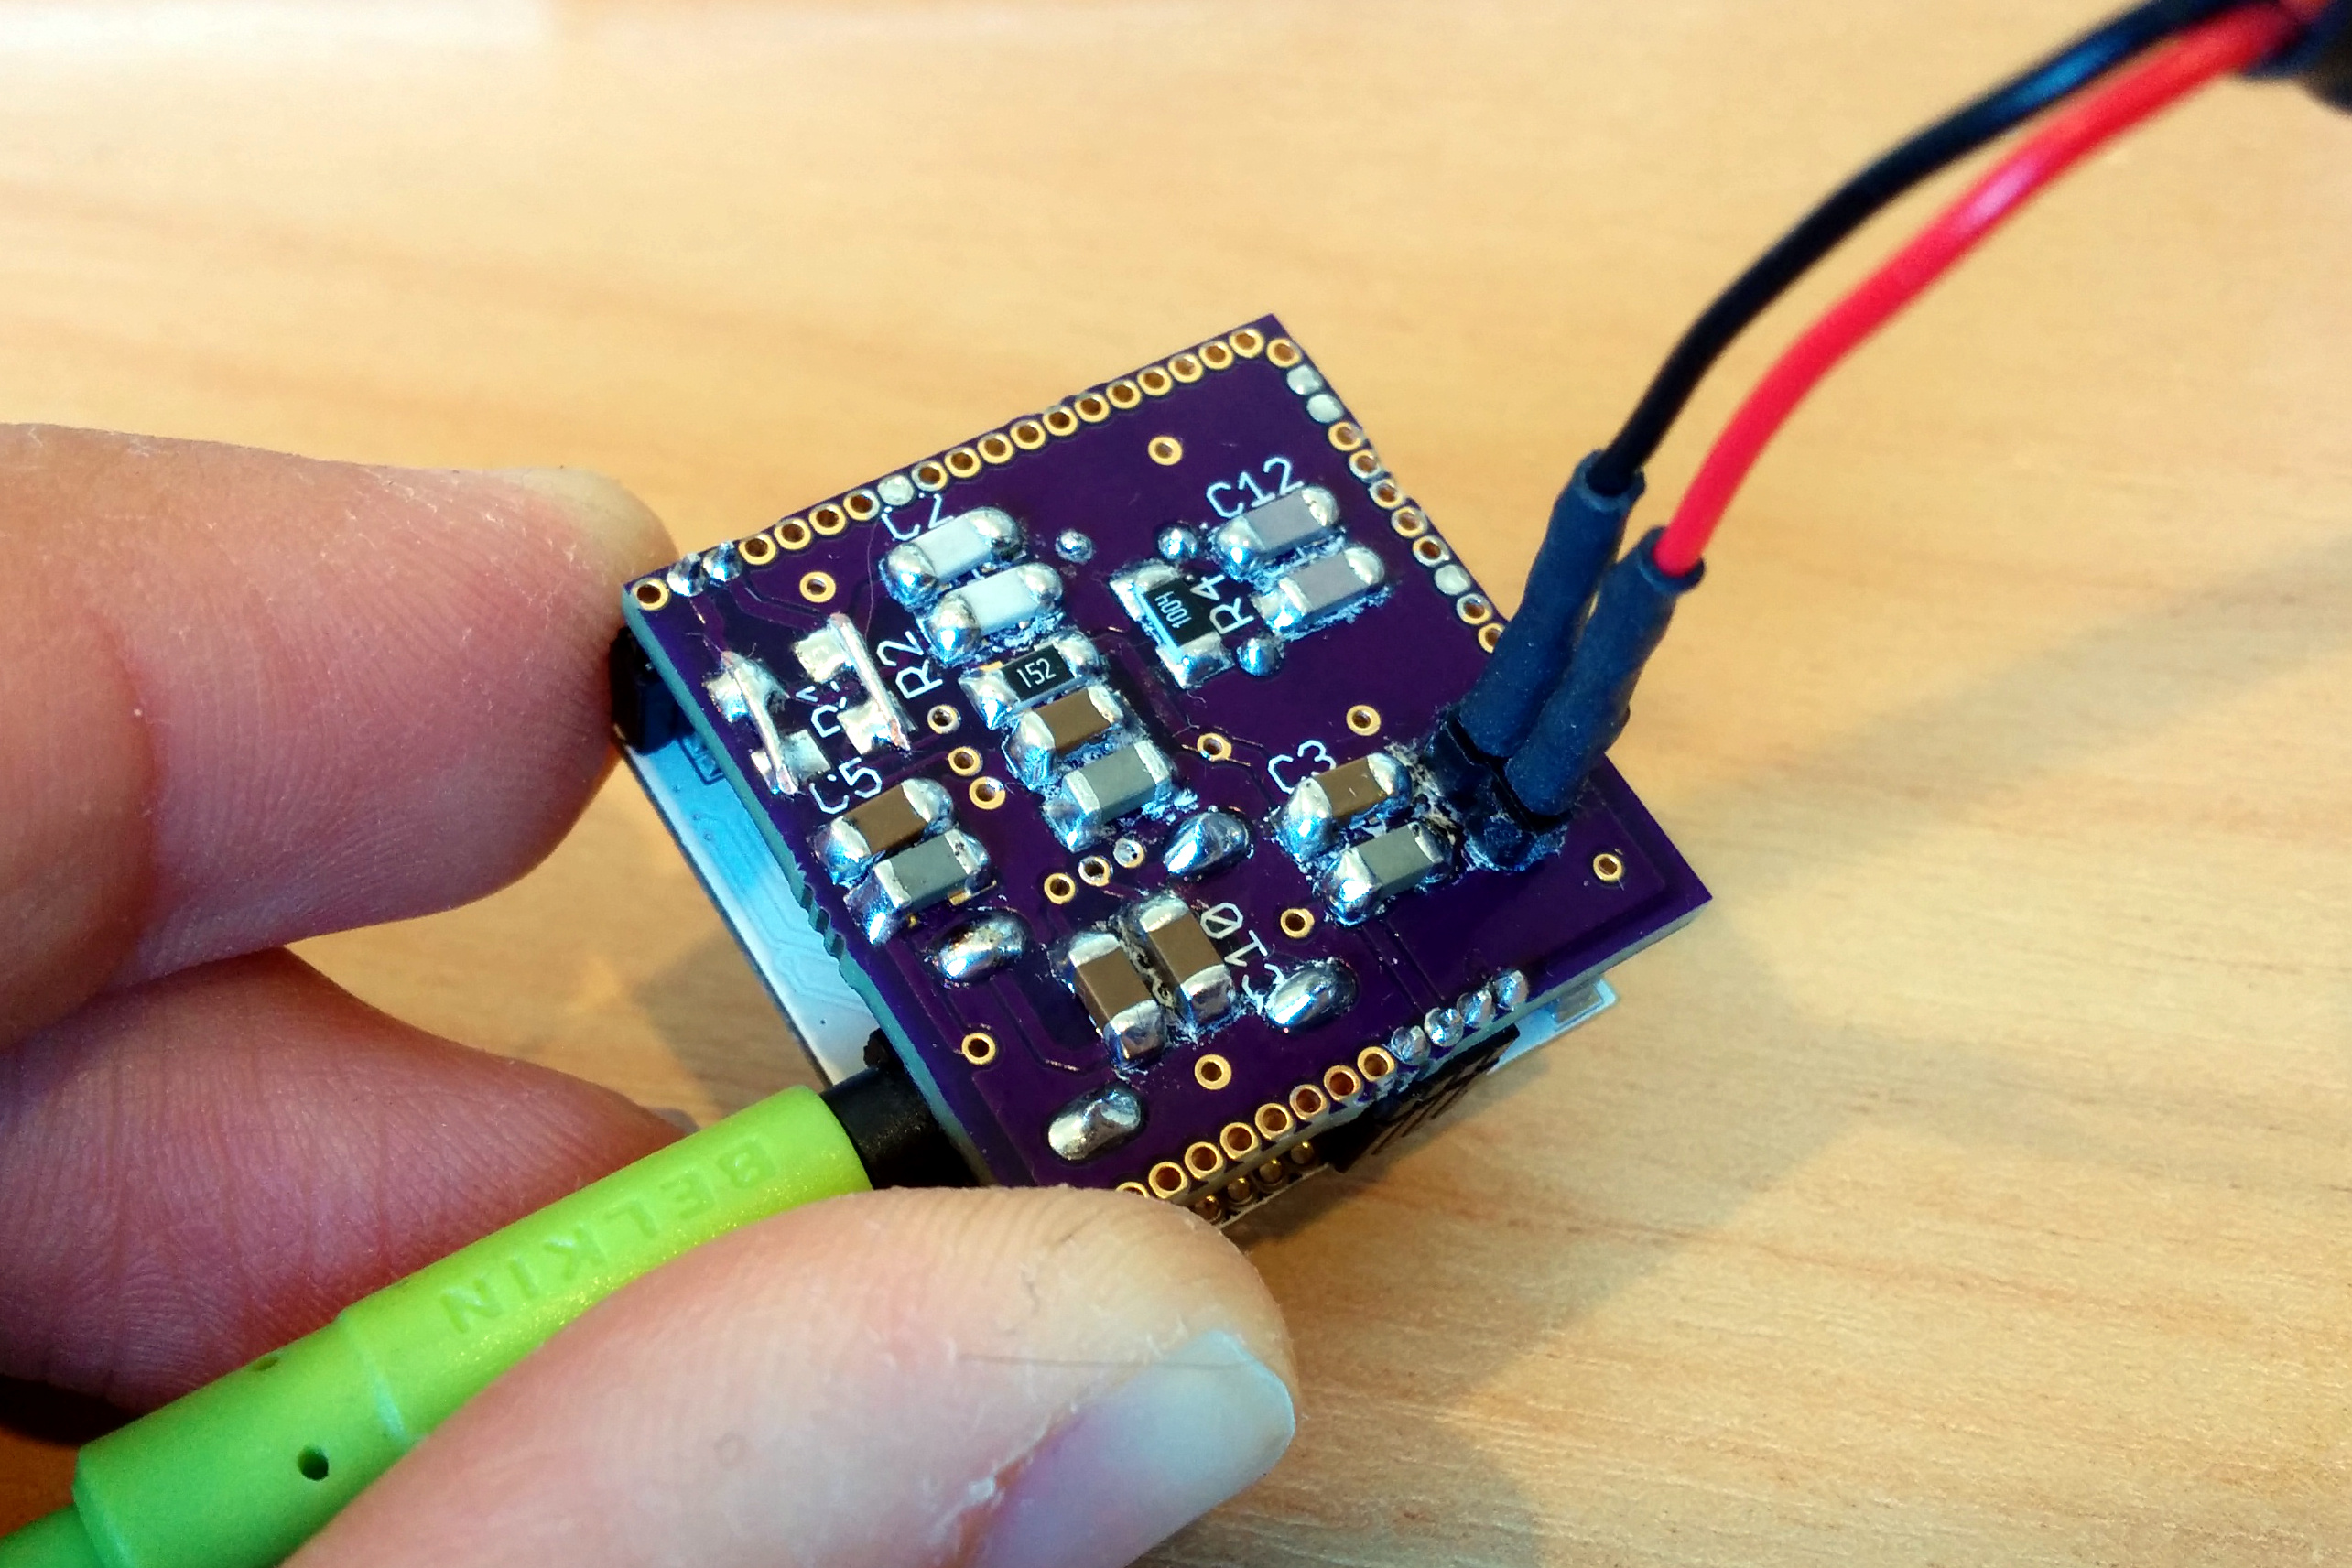
First you will either need a VoCore dock and USB sound card or a VoCore audio dock. A USB to serial adapter is also a good idea as it makes life a lot easier if you make a mistake when configuring network settings.
A word of warning: buy your USB sound adapter from a reputable source or manufacturer. Both myself and others I’ve spoken to have found those cheap generic $3 adapters all over eBay and dx.com to be of extremely poor quality and very unlikely to work.
Set up networking
If you are using the official VoCore dock, simply plug in an Ethernet cable. If you are using the bare-bones VoCore, join the default WiFi network that it presents. Once that’s done you should be able to SSH into it.
First we need to set up networking so that the VoCore works as a client on your WiFi network. I expect that most folks won’t care about the Ethernet side, and even if you do it simply works out of the box so you don’t need to worry about this step!
Edit the /etc/config/wireless file and ensure it looks like this (remove any existing lines). Note that you will need to substitute your own SSID and passphrase:
config wifi-device 'radio0'
    option type 'mac80211'
    option hwmode '11g'
    option path '10180000.wmac'
    option htmode 'HT20'
    option txpower '20'
    option country '00'

config wifi-iface
    option network 'wwan'
    option ssid 'Your SSID'
    option encryption 'psk2'
    option device 'radio0'
    option mode 'sta'
    option key 'WPA passphrase goes here'
Now edit /etc/config/network and add or update the following lines (leave everything else in place):
 config interface 'wwan'
    option proto 'dhcp'
Reboot the VoCore and it should associate itself with your WiFi network.
Update the firmware
While we can compile a custom OpenWRT build, that’s better suited if we need to add custom hardware support (such as VIA audio support in the HP thin terminal). There’s very little point with the VoCore as the standard Barrier Breaker image works really well for ShairPlay on the VoCore. On your VoCore’s terminal run the following:
cd /tmp
wget http://downloads.openwrt.org/barrier_breaker/14.07/ramips/rt305x/openwrt-ramips-rt305x-vocore-squashfs-sysupgrade.bin
Check that the image file isn’t damaged:
wget http://downloads.openwrt.org/barrier_breaker/14.07/ramips/rt305x/md5sums
md5sum -c md5sums 2> /dev/null | grep OK
If all is well, perform the upgrade:
sysupgrade -v openwrt-ramips-rt305x-vocore-squashfs-sysupgrade.bin
And wait for the VoCore to restart once the upgrade has completed.
Install the required packages
Now we need a few packages to make ShairPort work including USB audio support:
opkg update
opkg install kmod-usb-audio shairport
Enable the required daemons
We also need to ensure that the daemons required for ShairPort start at boot:
/etc/init.d/dbus enable
/etc/init.d/avahi-daemon enable
/etc/init.d/shairport enable
Edit the ShairPlay configuration
While the defaults for ShairPort work fine, we should at least set a suitable name for the AirPlay server to announce itself as by editing the following line in /etc/config/shairport:
option bname 'VoCore Audio'
That’s it! Reboot the VoCore and it should soon appear as an output device in OS X or iOS:

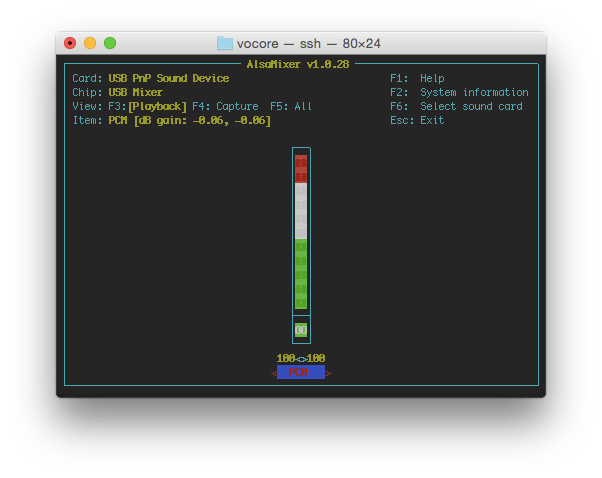
If you have trouble getting audio to work, run alsamixer on the VoCore and check that the PCM volume is set adequately:
Failing that, use dmesg to confirm that the USB audio device is detected properly:
[   17.550000] snd-usb-audio 2-1:1.0: no of_node; not parsing pinctrl DT
[   17.610000] usbcore: registered new interface driver snd-usb-audio
